When my girlfriend Kristen moved into her charming Spanish bungalow style apartment, there were little quirky things we thought were charming. One of these weird gems was a small nook with open shelves, dividing a little work-space from the walk-in closet area (which we quickly named furniture purgatory). "Cute," we thought. "We can come up with some cool way to use this."
We came up with nothing.
After months and months, it still remained an awkward see-through shelving area, where you could see all our random workout shit and extra furniture from the living area. To make matters worse, it stood opposite a "desk space" created where a closet probably used to be. The desk was too high with a chair underneath, so it morphed into a place to pile bills and to put the cat food.
See photos below. Embarrassing, but accurate.
"Let's make it a little breakfast nook," said Kristen one morning. I paused.
"This is why I love you. Because you are a genius."
So, I bought cheap curtains from TJ Maxx. Bright yellow ones. 2 styles. 2 pairs of simple through-the-rod hemmed style, 2 pairs grommet style. "Ah ha," I thought. I could just use some tension shower rods to hang them from.
So I bought 3 tension rods in the shower aisle from Home Depot (otherwise known as Lesbian Mecca).
I put two shower rods on each side, just high enough so the 84" hemmed drapes brushed the floor when I hung them.
Then for the "tent" part, I layed 2 panels out as if I were going to sew them together, grommet to grommet. I did the same with the next 2 panels. Then I used the remaining tension rod as the "sewing needle", weaving it in and out through the grommets.
I carefully hung the rod and put the draped fabric over the existing rods.
I added a few finishing touches to our corner, inlcuding a pendant lamp from MyHabit, hung with a zip-tie:
An abstract drawing I composed in art school five years ago...
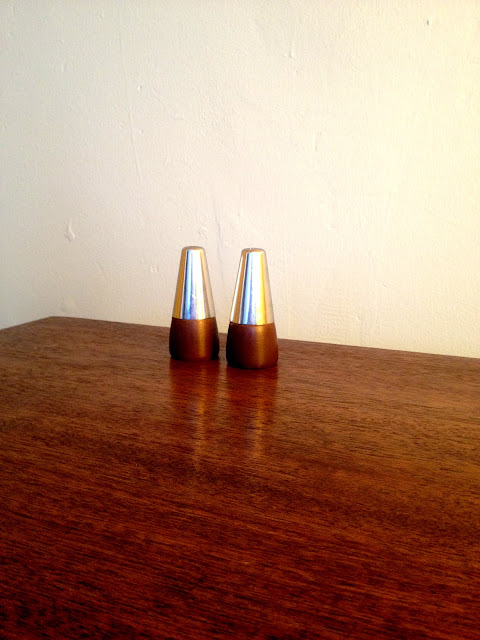
Some mid-century walnut salt & pepper shakers.
Below see where I found all the components to this nuggety little moroccan nook.
Peweter crocheted poufs, CB2- $89.95.
Square walnut 1960's coffee table, Pasadena City College Flea Market- $40.00.
Mid-century salt & pepper shakers, Pasadena City College Flea Market- $15.00.
Abstract print- my own.
Silver frame- Habitat for Humanity store- $10.00.
Canary yellow drapes, TJ Maxx- $14.99 a pair.
Tension shower rods, Home Depot- $8.99 each.
Industrial gold pendant light, MyHabit.com- $89.99.


